|
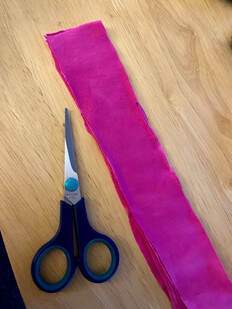
We have all been doing it - coming up with random projects to work on during lockdown to keep us occupied! Well, this is one of mine. The idea came from a combination of my t shirt blanket project (which I am still working on but will share a blog of how I made it once complete), and a panic I found myself in one evening when I couldn't find a clean sweatband before a turbo session (and anyone who has completed sweaty turbo sessions in the garage will know how crucial these are to prevent your eyes stinging when sweat begins to go in them.. gross). So this is a way I could make more sweatbands using old t-shirts that weren't going into the blanket! Step 1 - SuppliesYou will need the following:
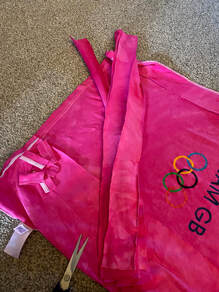
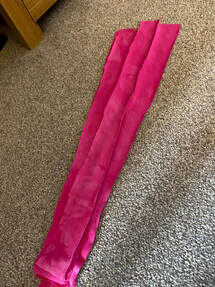
Step 2 - cut your fabricTake your t-shirt and cut out 5 strips about 5cm wide and 90cm long. It is better to be slightly longer than too short, as you can always cut it shorter at the end. You don't need to be too precious about neatness - they don't need to be perfect straight lines as they will eventually be within the braid.
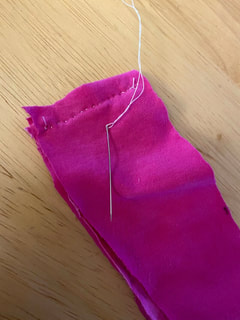
Step 3 - Sew the PIECES togetherPlace all of your 5 pieces on top of each other and sew them all together about 2.5cm in from the end. This will eventually be hidden, so again you don't need to be super neat.
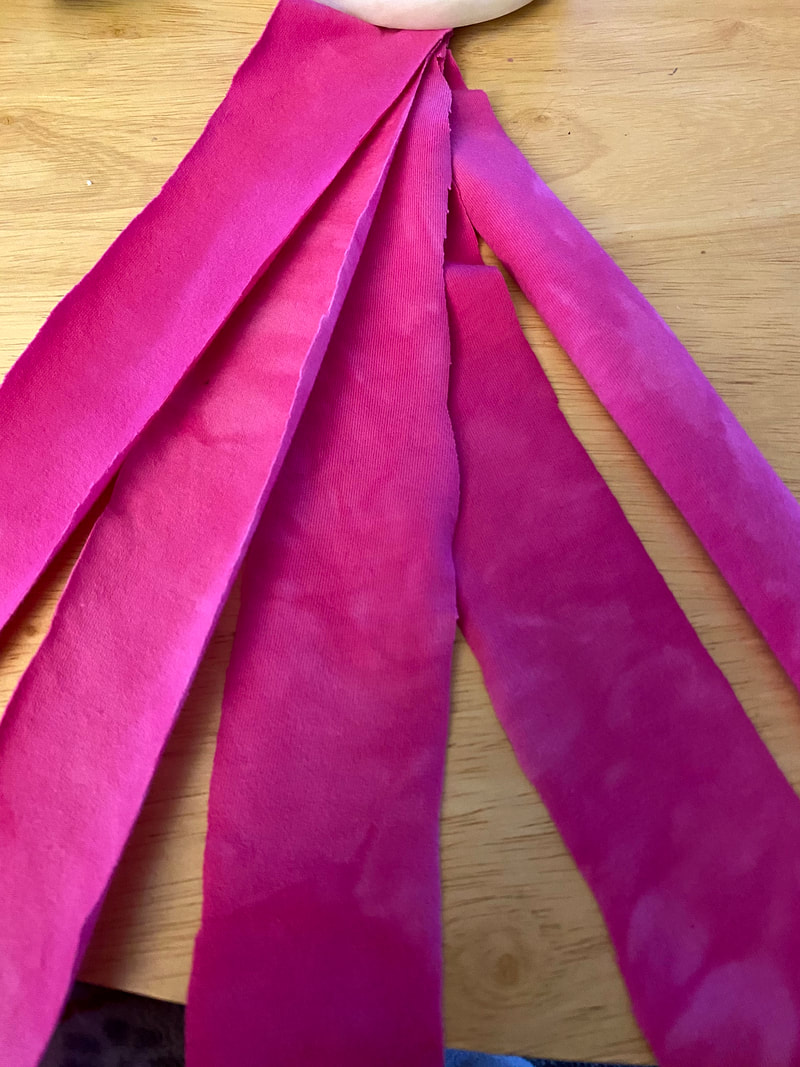
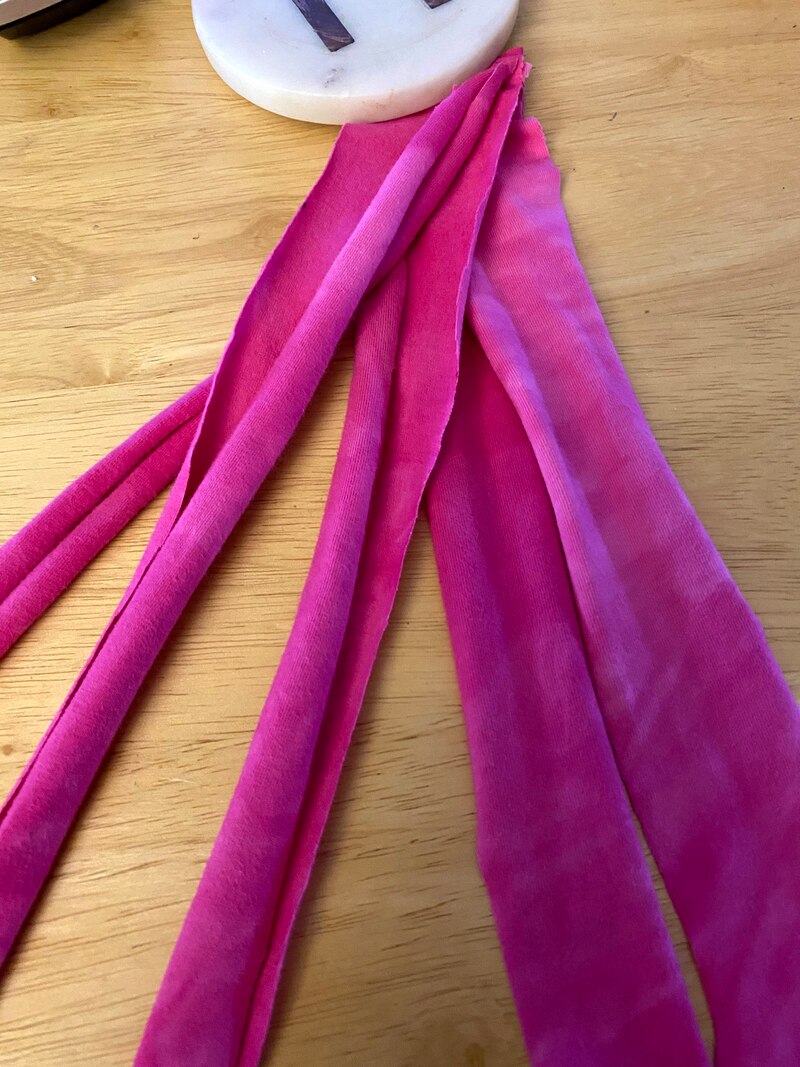
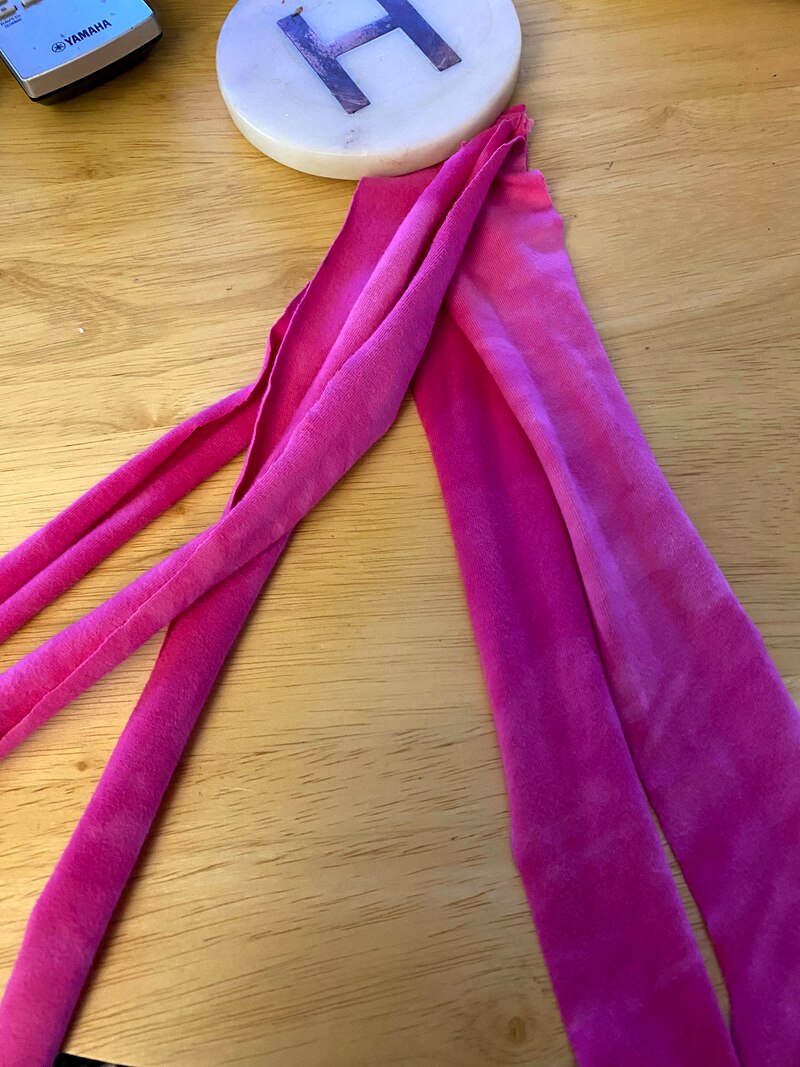
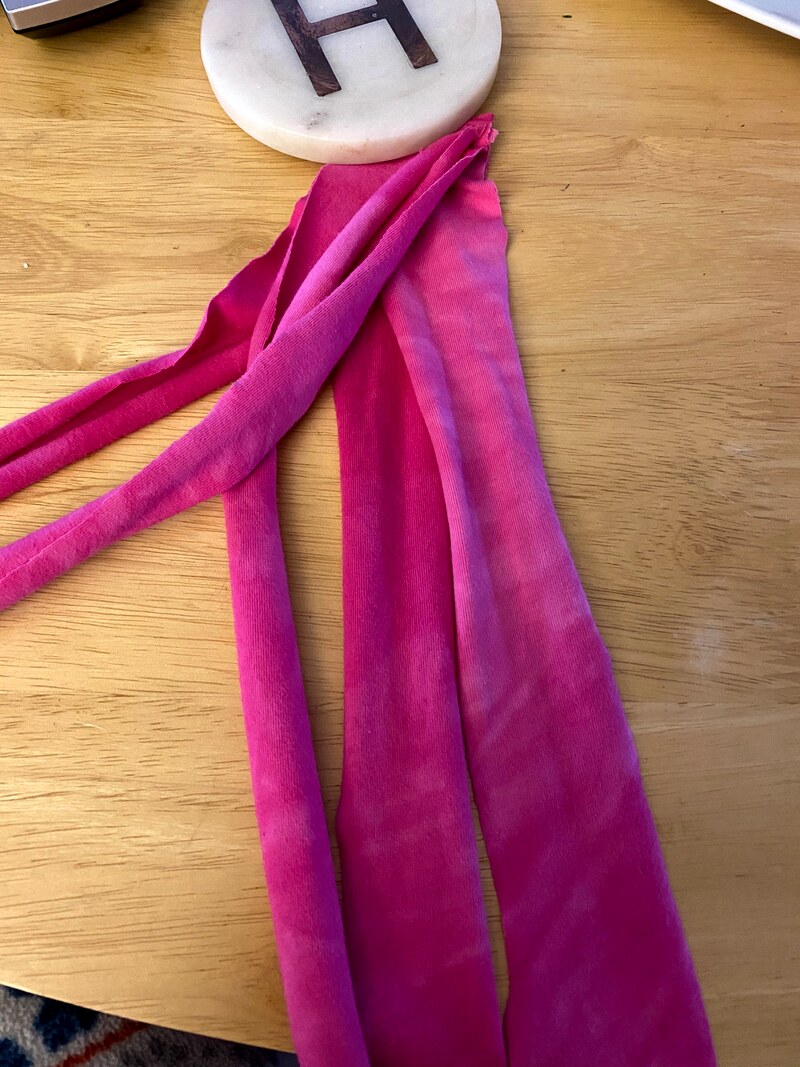
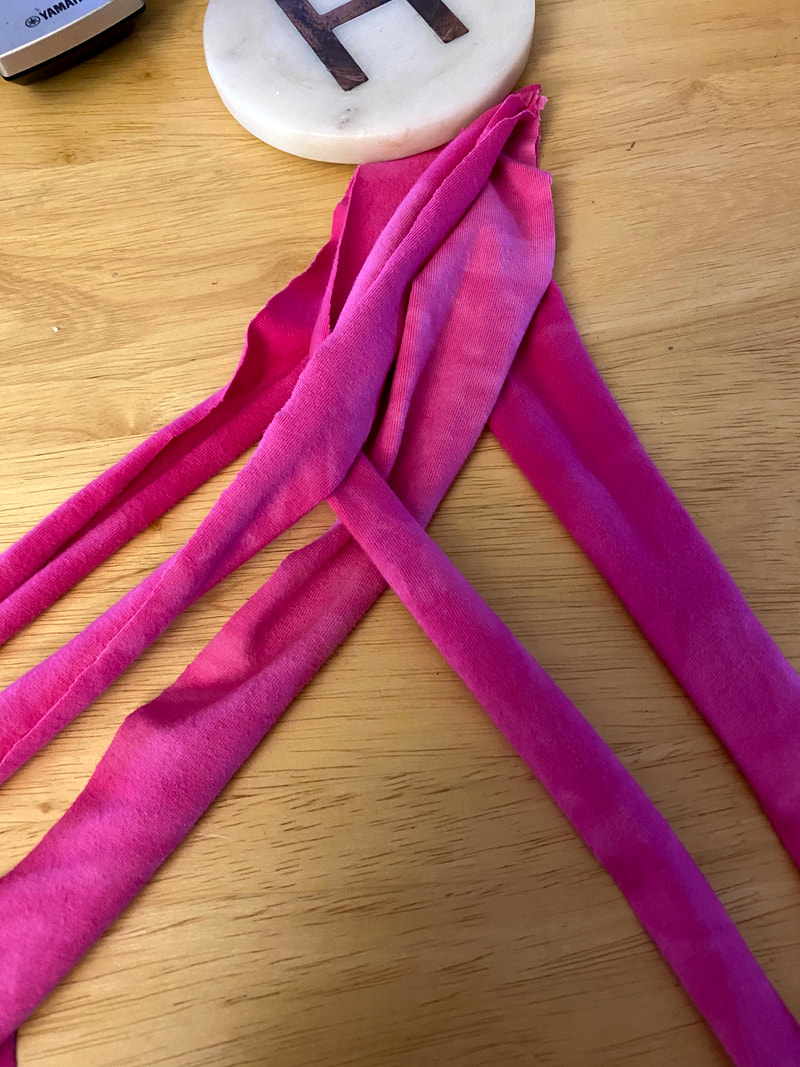
Step 4 - Braid the piecesFirstly using a weight of some kind, temporarily secure your pieces to the table (I used a couple of stone coasters). Now onto the braiding - this isn't your standard 3 piece plait so might take a bit of time to get right. Imagine that the pieces are labelled 1-5 from left to right....
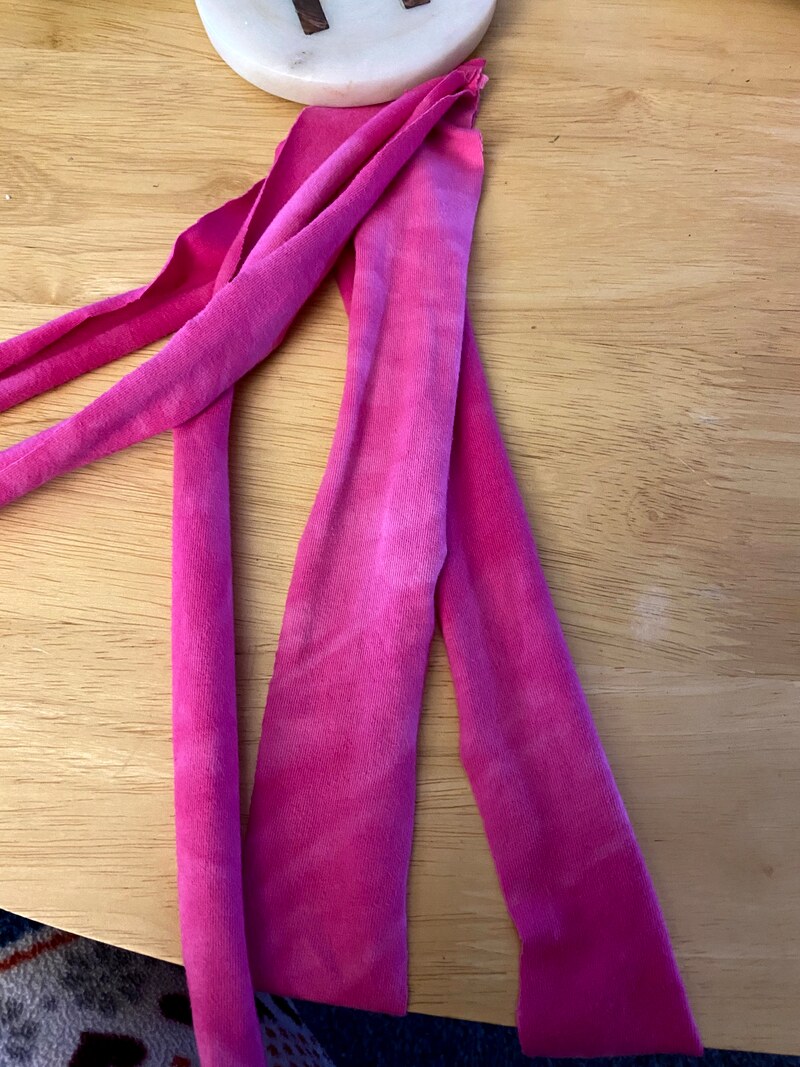
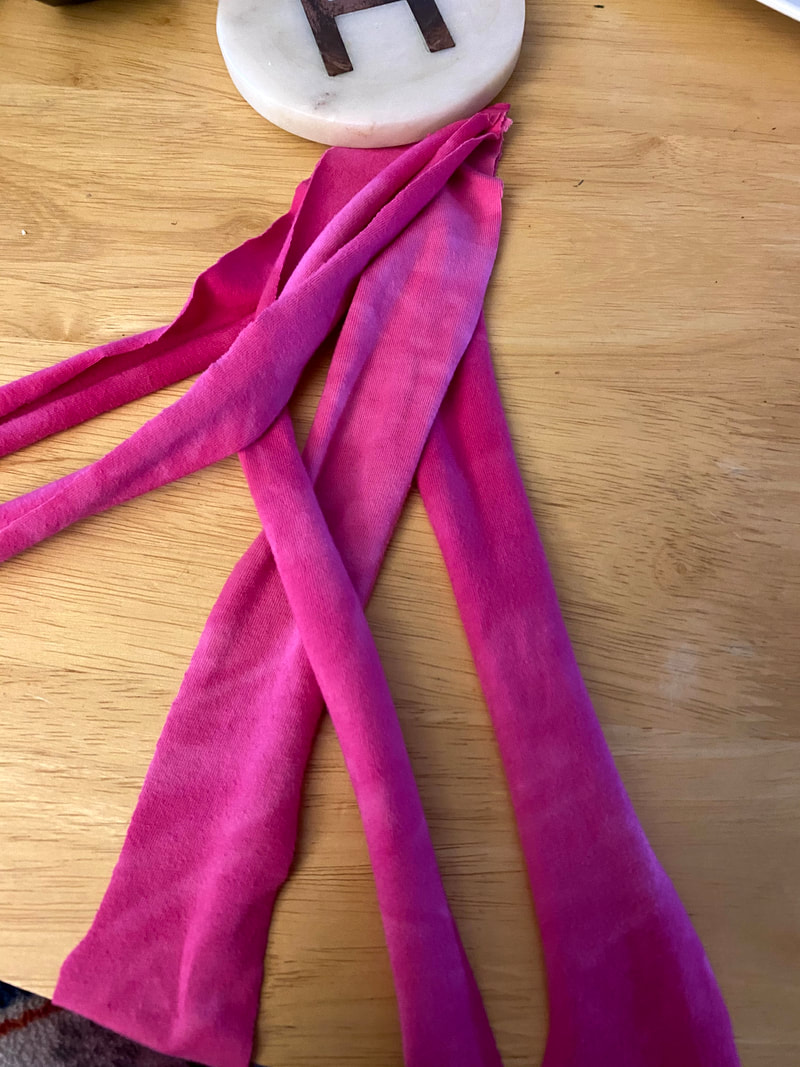
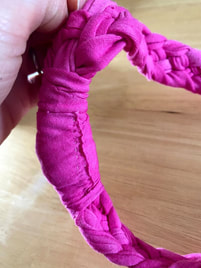
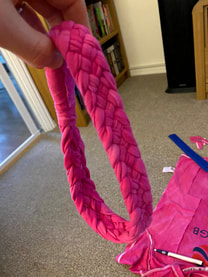
Now repeat the pattern above with the remaining pieces until the full length of the pieces are braided. Make sure you pull it all tight from the very beginning otherwise it won't work very well. Keeping tightly hold of the lose end, just check the length around your head. If it is a little tight, don't panic it will stretch. If it is too big, unravel the braid to just under the desired length. 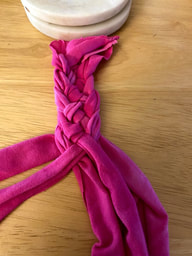 Step 5 - sew endsOnce you have your desired length of braided fabric, sew the other end about 0.5cm away from the edge of the braiding, to keep the braid from unraveling. Trim off any excess fabric but leaving enough to allow you to sew the end together. Now take the two sewn ends and sew them together. Again, this will eventually hidden so it doesn't need to be super neat. 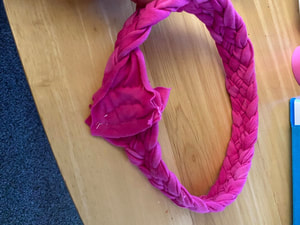 Step 6 - add coverFirstly, cut a 5cm by 20cm strip of the same fabric. Wrap this strip around the seams tightly, finishing with the end of the strip on the inside of the headband. Finally, sew the fabric strip closed.
Step 7 - wear!Let me know if you make your own versions of this! I might attempt a multi-coloured one next time! 
0 Comments
Leave a Reply. |
AuthorAn everyday girl with a love of competition (and nut butter) Archives
October 2021
Categories |
 RSS Feed
